
Quirky Patterns for Quirky People
Quirky Patterns for Quirky People
Craft Pixie - Sunday 7th of August 2022
Colour changing mid-row can be scary, especially when working an overlay mosaic crochet pattern. However, with a little bit of patience and know-how, patterns can be made truly unique. Here are some methods for colour changing you might like to try.
Contents

But first let's talk about how the colours are swapped over. This technique is used for all but the “Colour Changing by Row” method. Let’s call the block of crochet you wish to re-colour the “block”. When you reach the last stitch before the block, Finish this stich by pulling through the new colour. This is now the working yarn. Work the stitches across the block, carrying the non-working yarn across the back, working them into the stitches.
When the last stitch of the block is reached, this stitch is finished by pulling through the original colour. The colour changed colour is dropped or carried across the back as required.
The simplest method is to change either the background or foreground colour on a particular row. The advantages are that there are no special stitches or techniques required. The disadvantage is that the effect is limited to the row in question.
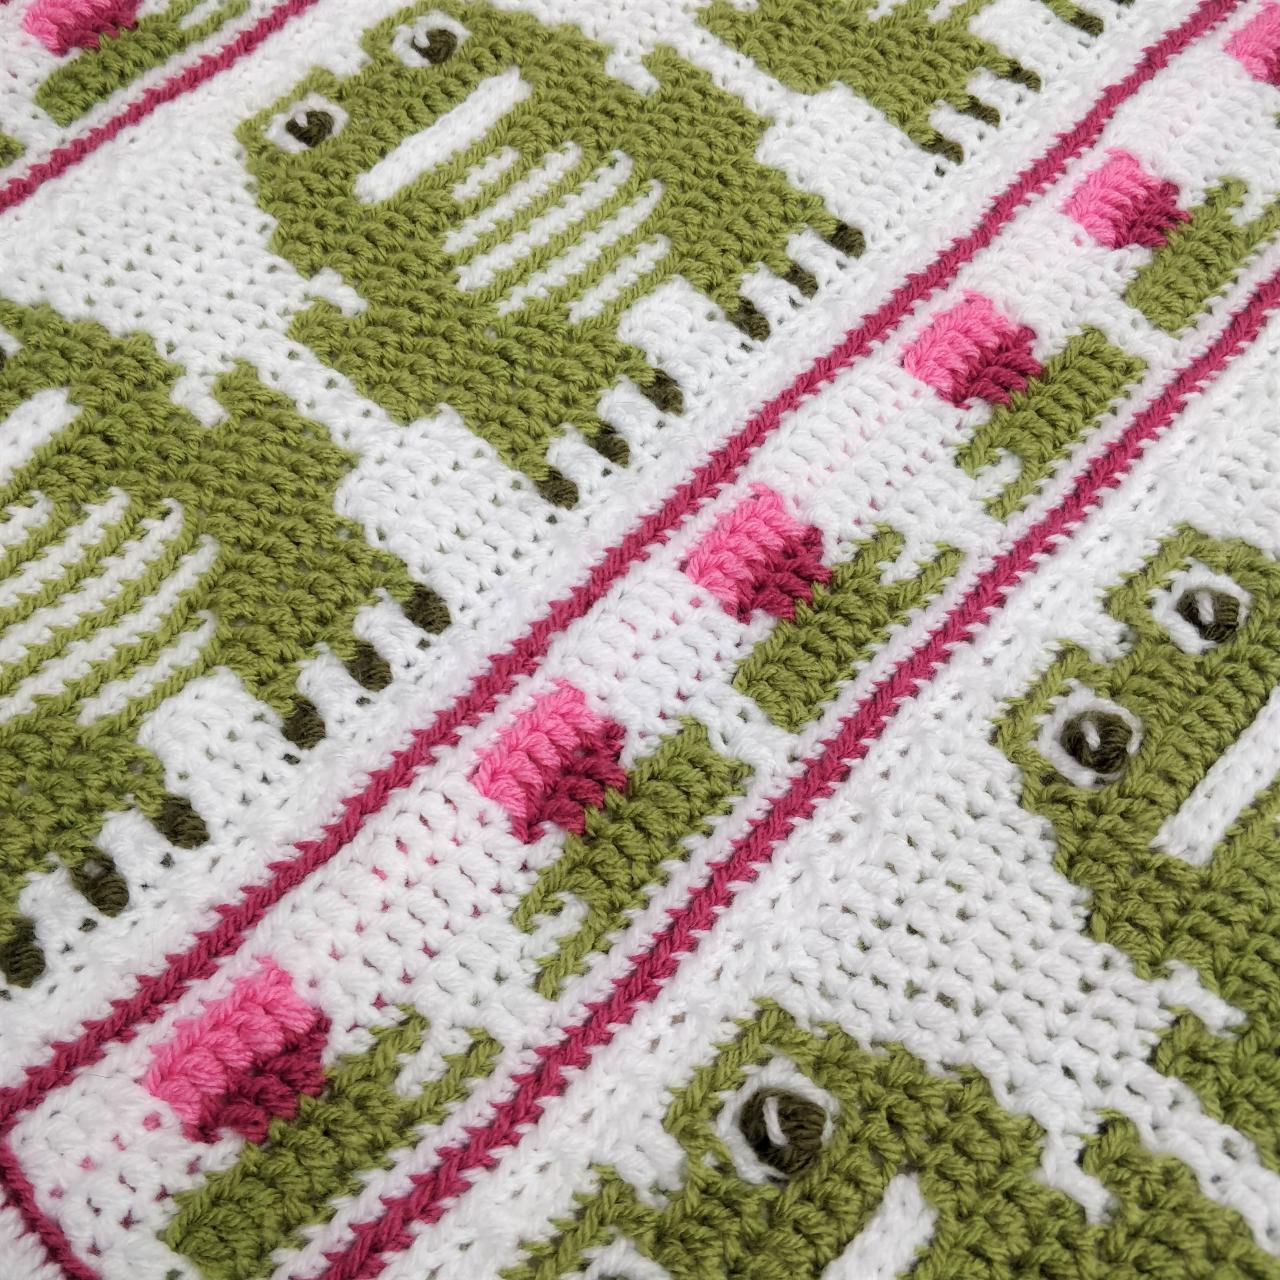
Let’s look at the Craft Pixie's FROG CHORUS pattern. Usually, in overlay mosaic crochet, you are told that rows alternate between colours A and B. In FROG CHORUS, I wanted to bring some colour to the lilies. I therefore used different colours when working some of the foreground rows. Backgrounds can also be changed in the same way. The options are endless!
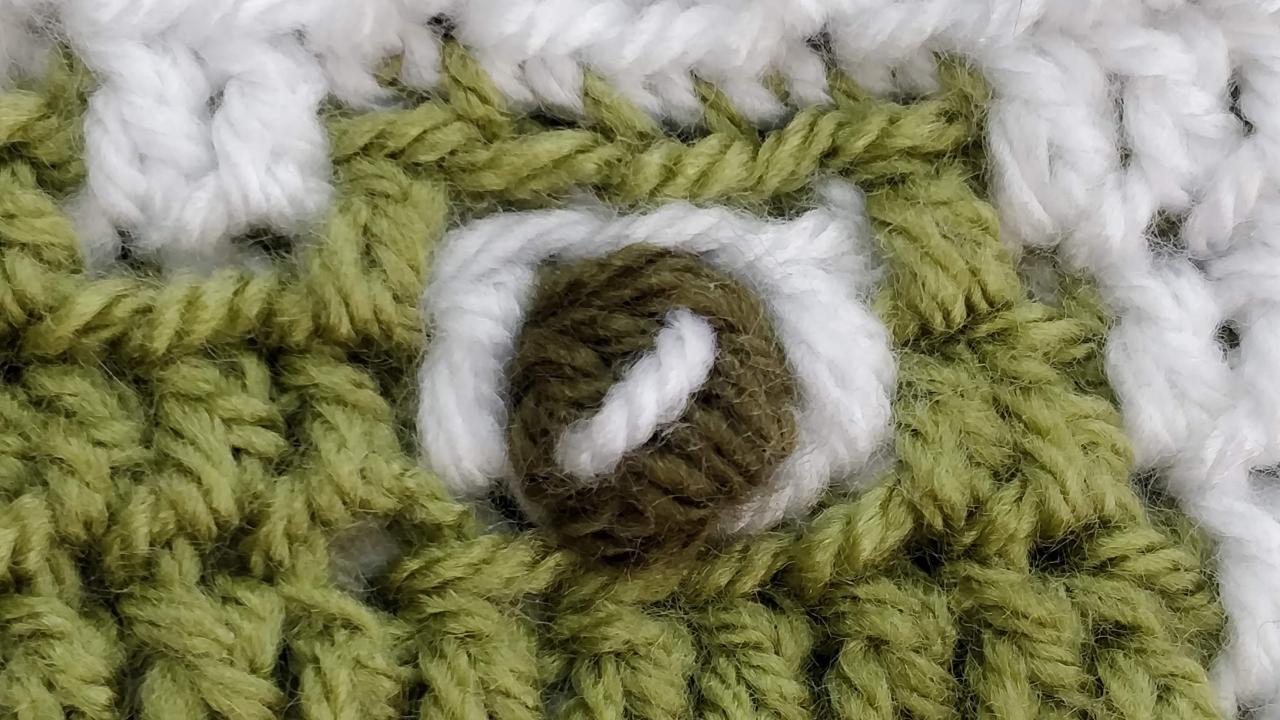
This is ideal for small colour changes, such as eyes, or small areas of a few stitches. The advantages are that you don’t need to carry yarn or use bobbins. The disadvantage is that there are tails to darn in.
Swap the colour over at the start and end of the block as described above in the “Swapping Colours” section. However, once the block is complete and the original yarn is now the working yarn, cut the coloured change yarn, leaving a tail. You will need to darn in the tails afterwards.
In this method, both the specified colour and the colour change colour will be worked across the entire row with the non-working yarn is carried across the back. The advantage is that there are no tails to darn in. The disadvantages are that it can make the work more bulky and the colours can sometimes show through.
To use this method, start the row with the designated colour, as directed. However, as you work each stitch, carry the colour change colour along the back. Swap colours back and forth as required using the “Colour Swapping” technique already described. At the end of the row cut both colours. You will now have two starting tails and two ending tails at each end of the row.
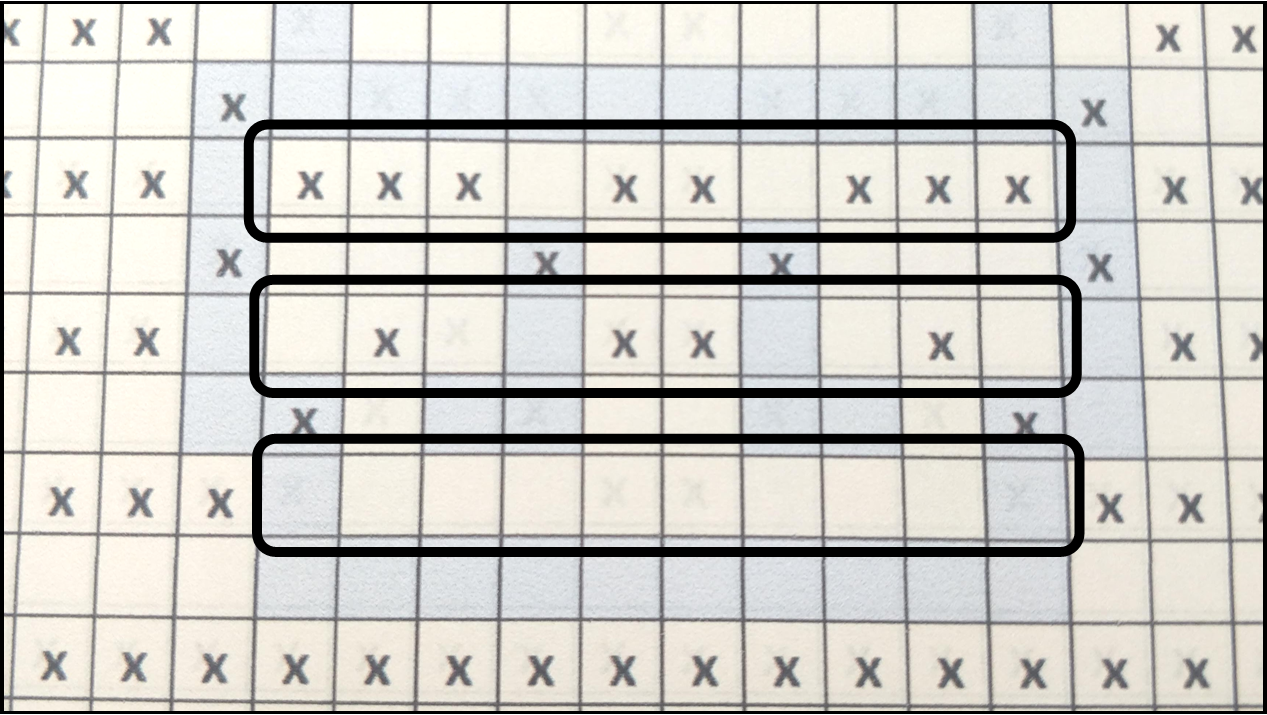
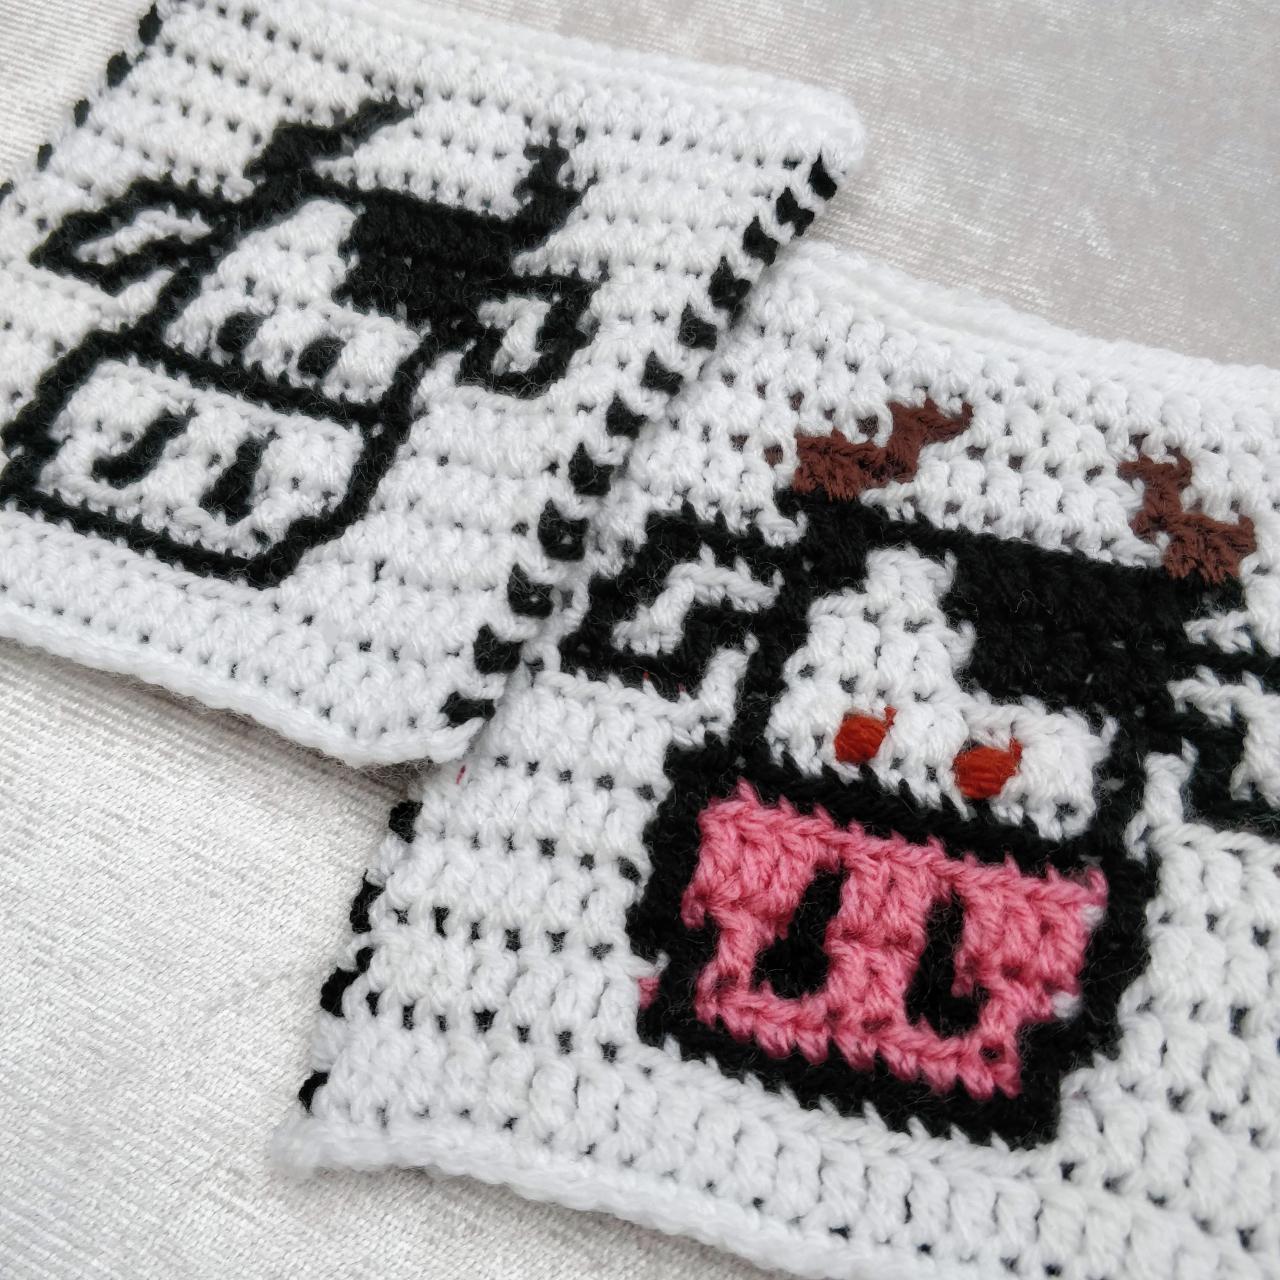
Step 1: Count how many stitches you wish to colour change.
In my example, I wanted to change the nose of my cow to pink. I am only going to colour change on a Colour A rows. I also want to include the first row of sc within the nose area, so no white peeks through. The stitches are circled and add up to 30.
Step 2: Calculate how much yarn is needed.
Decide on the hook you wish to use. I used a 3.5mm hook.
Now use the formula: Stitches x hook size x 3
In my example, this was 30 x 3.5 x 3 = 315 cm.
This is not an exact science. Make a sample and measure the yarn used to be sure.
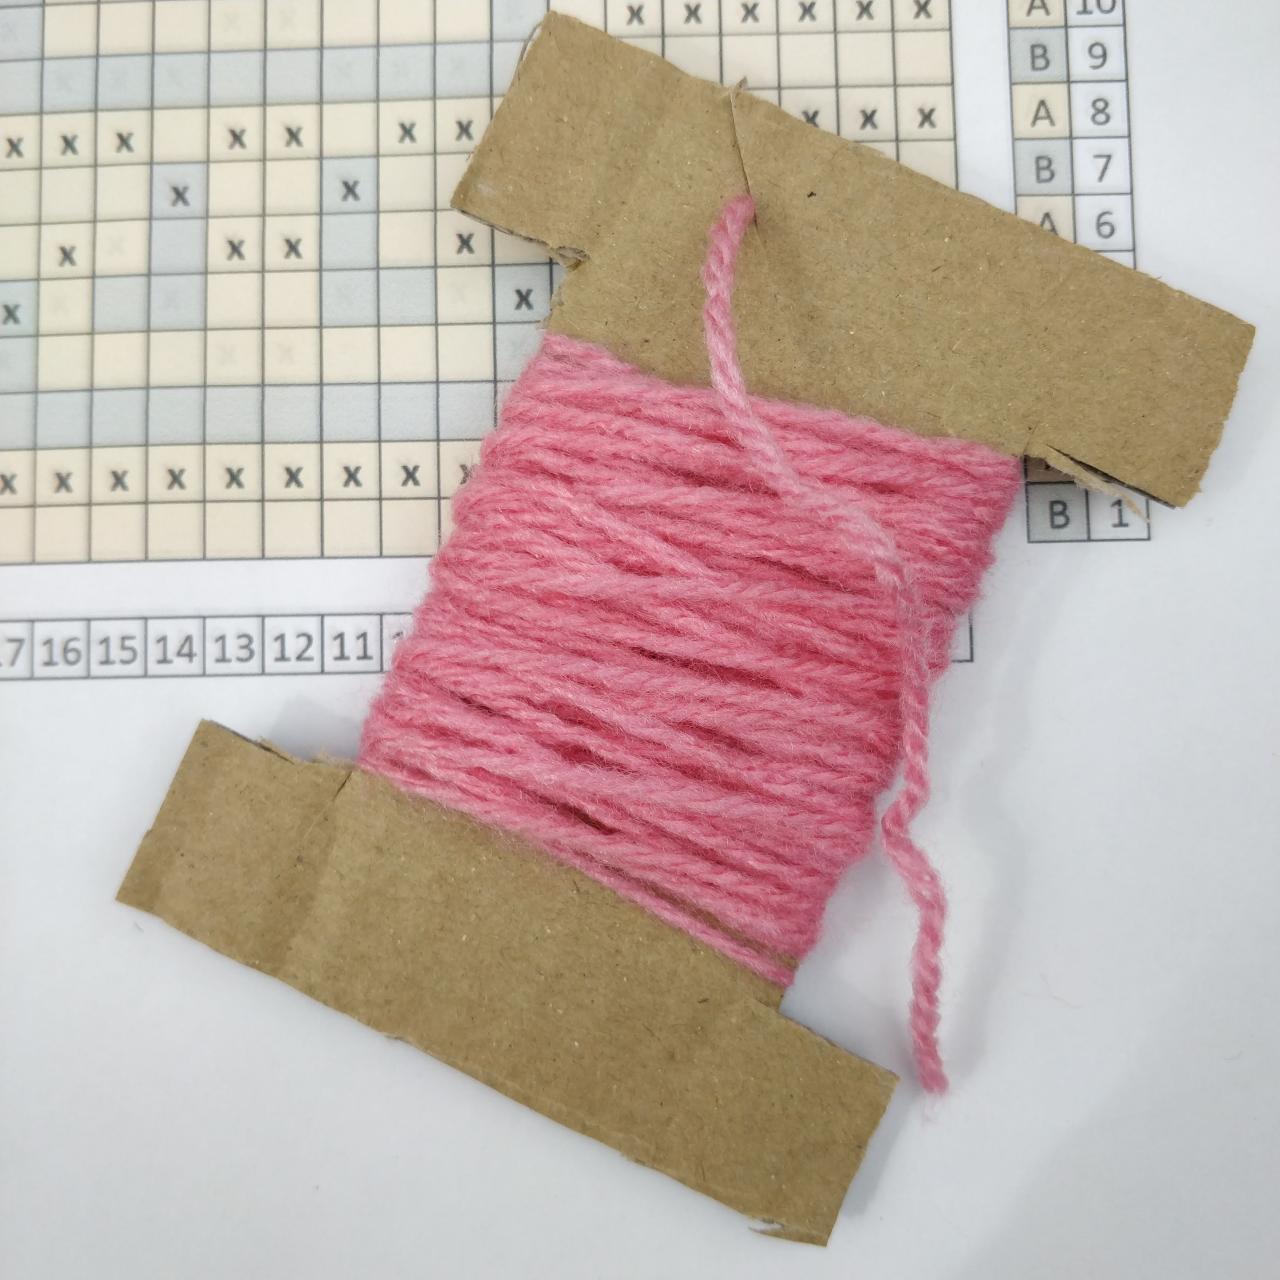
Step 3: Make a small ball of yarn.
Wind the yarn around a bobbin. This could be a peg, a lolly stick or something you make yourself.
In my example, I made a bobbin out of light weight box card. The bobbin is quite big, but only so you can see the shape. I have added a slit at the top to hold the yarn when the bobbin is not in use.
The bobbins can tangle or get in the way. I find that if I sit at the table and place the bobbin on top, it becomes easier.
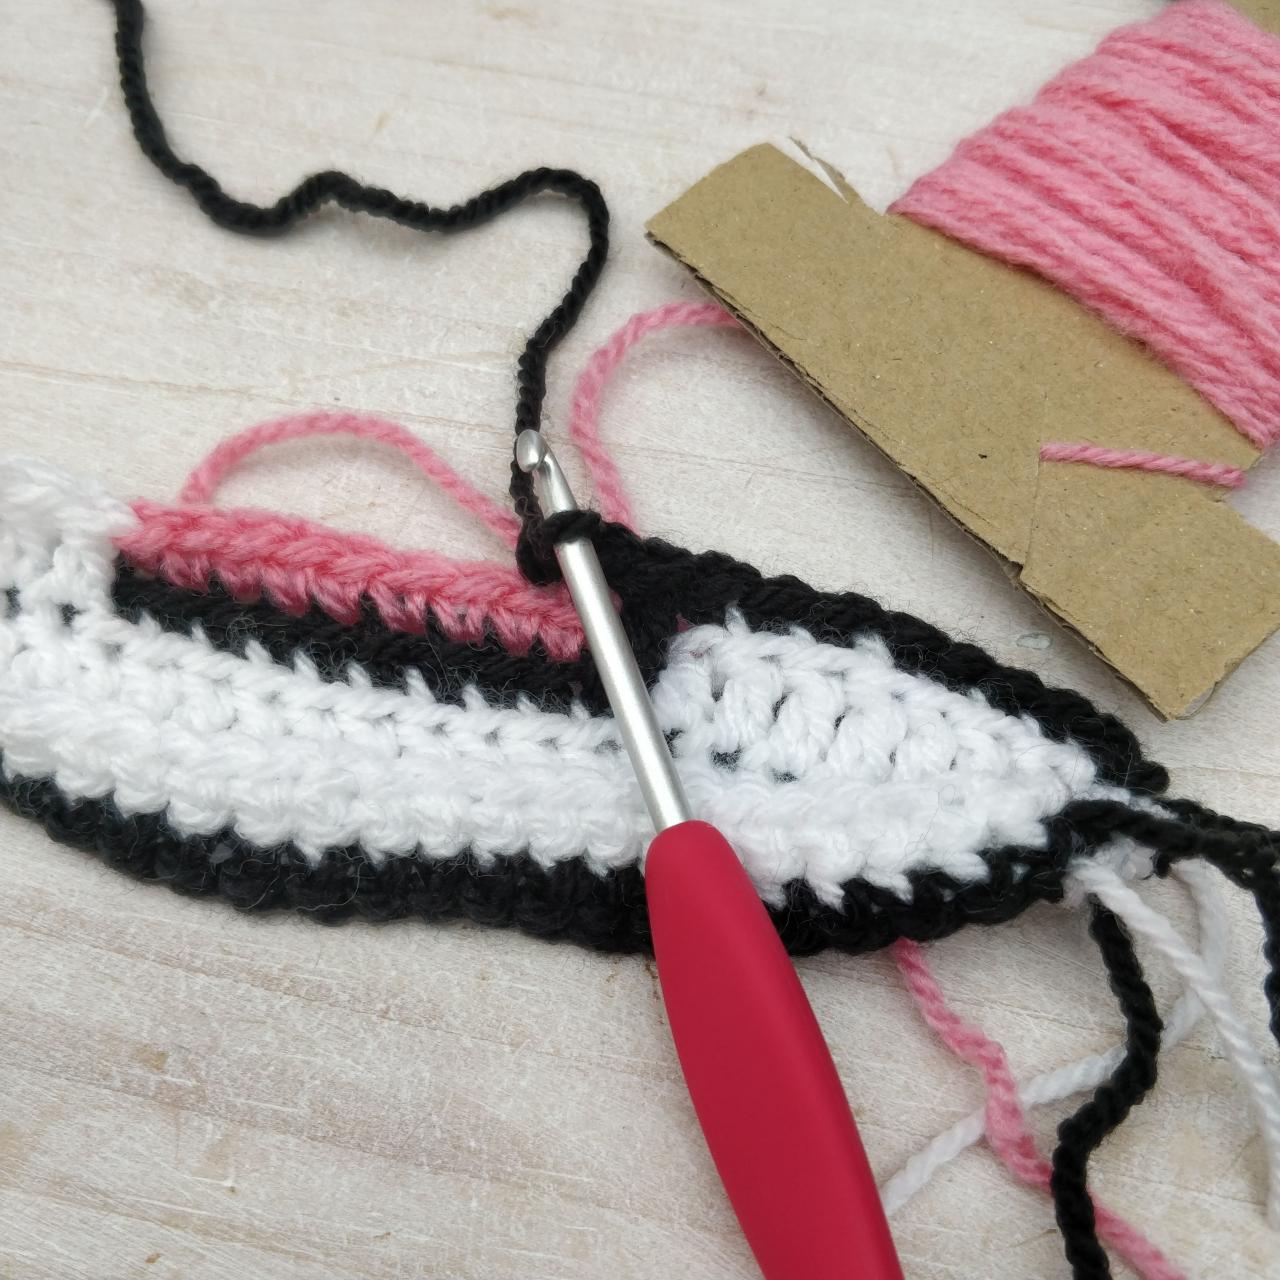
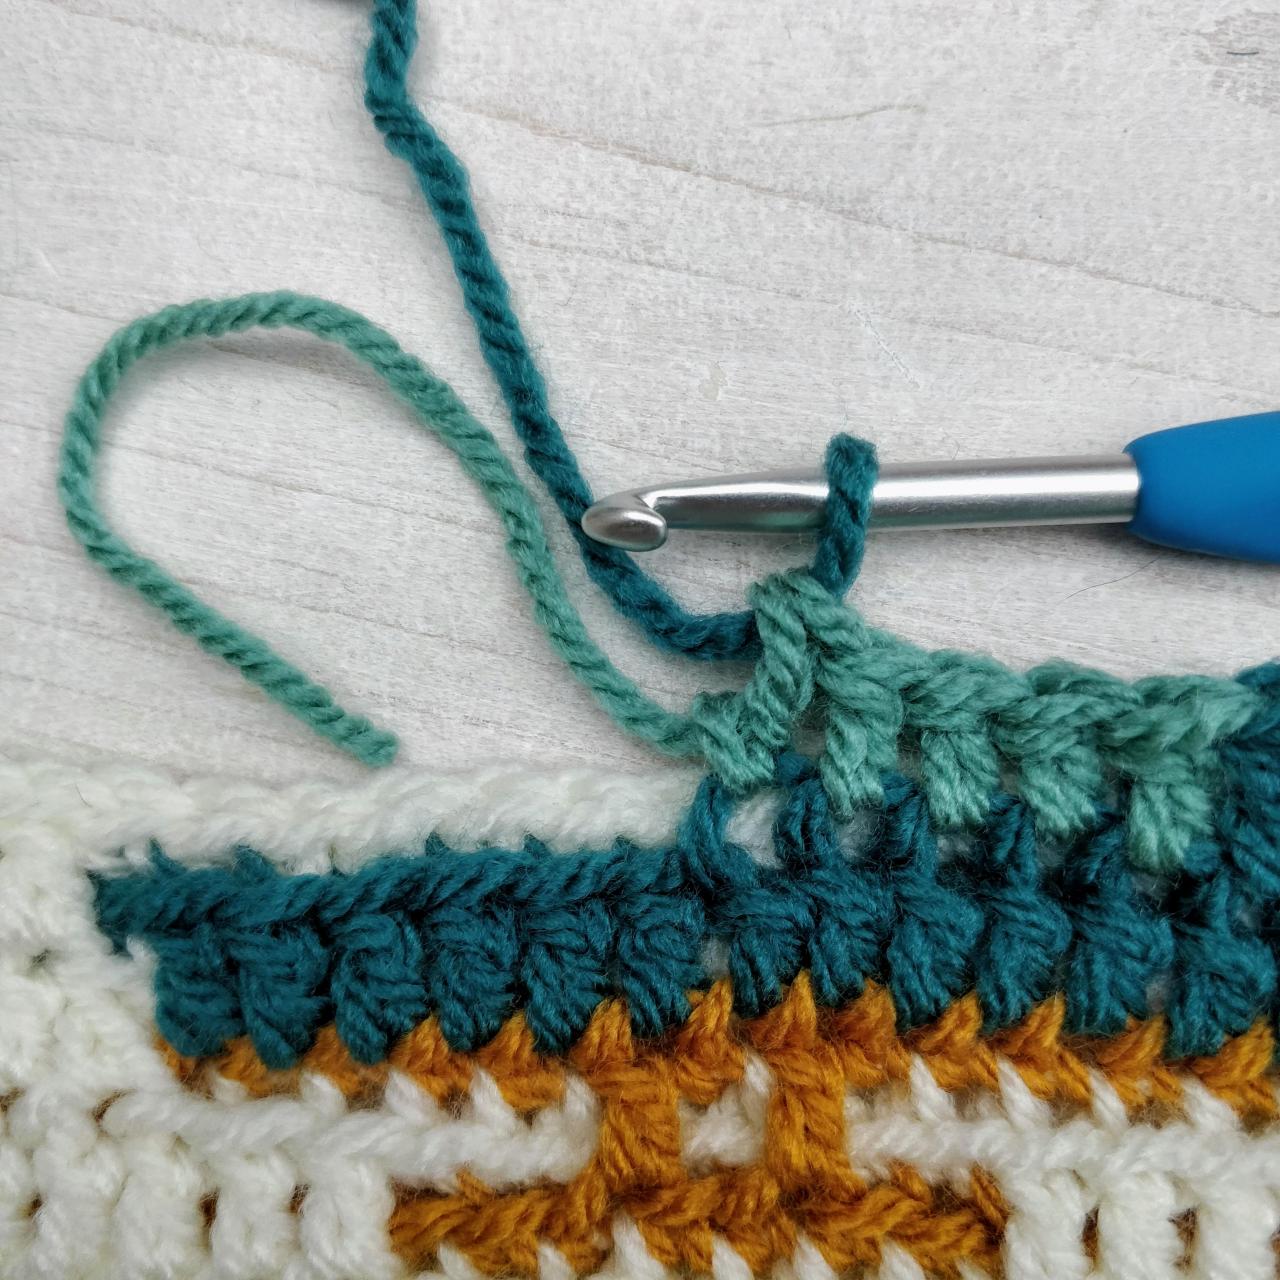
Step 4: Work the row.
Now work the row using the “Colour Swapping” technique. At the end of the block, drop the bobbin ensuring the yarn is secure in the slit.
On the next row, a Colour B row, when the start of the block is reached, carefully bring back the bobbin to the right-hand side and crochet over it. You need to make sure there are no long strands across the back. Do not pull the yarn too tightly. At the end of the block, manipulate the crochet to ensure the yarn is not pulled too tightly. The yarn is now on the right-hand side of the block and ready to be worked on the next row.
I hope you find this tutorial useful.
