
Quirky Patterns for Quirky People
Quirky Patterns for Quirky People
Craft Pixie - Thursday 14th of July 2022
You’ve made a couple of panels for your cushion cover and knotted the side tails and cut them back to around 1.5”. Now what?
The following describes my favourite way of finishing a cushion cover and involves no zips, closures or sewing. It is still a bit fiddly, but I find it gives me the neatest results.
Contents
Why make a border?
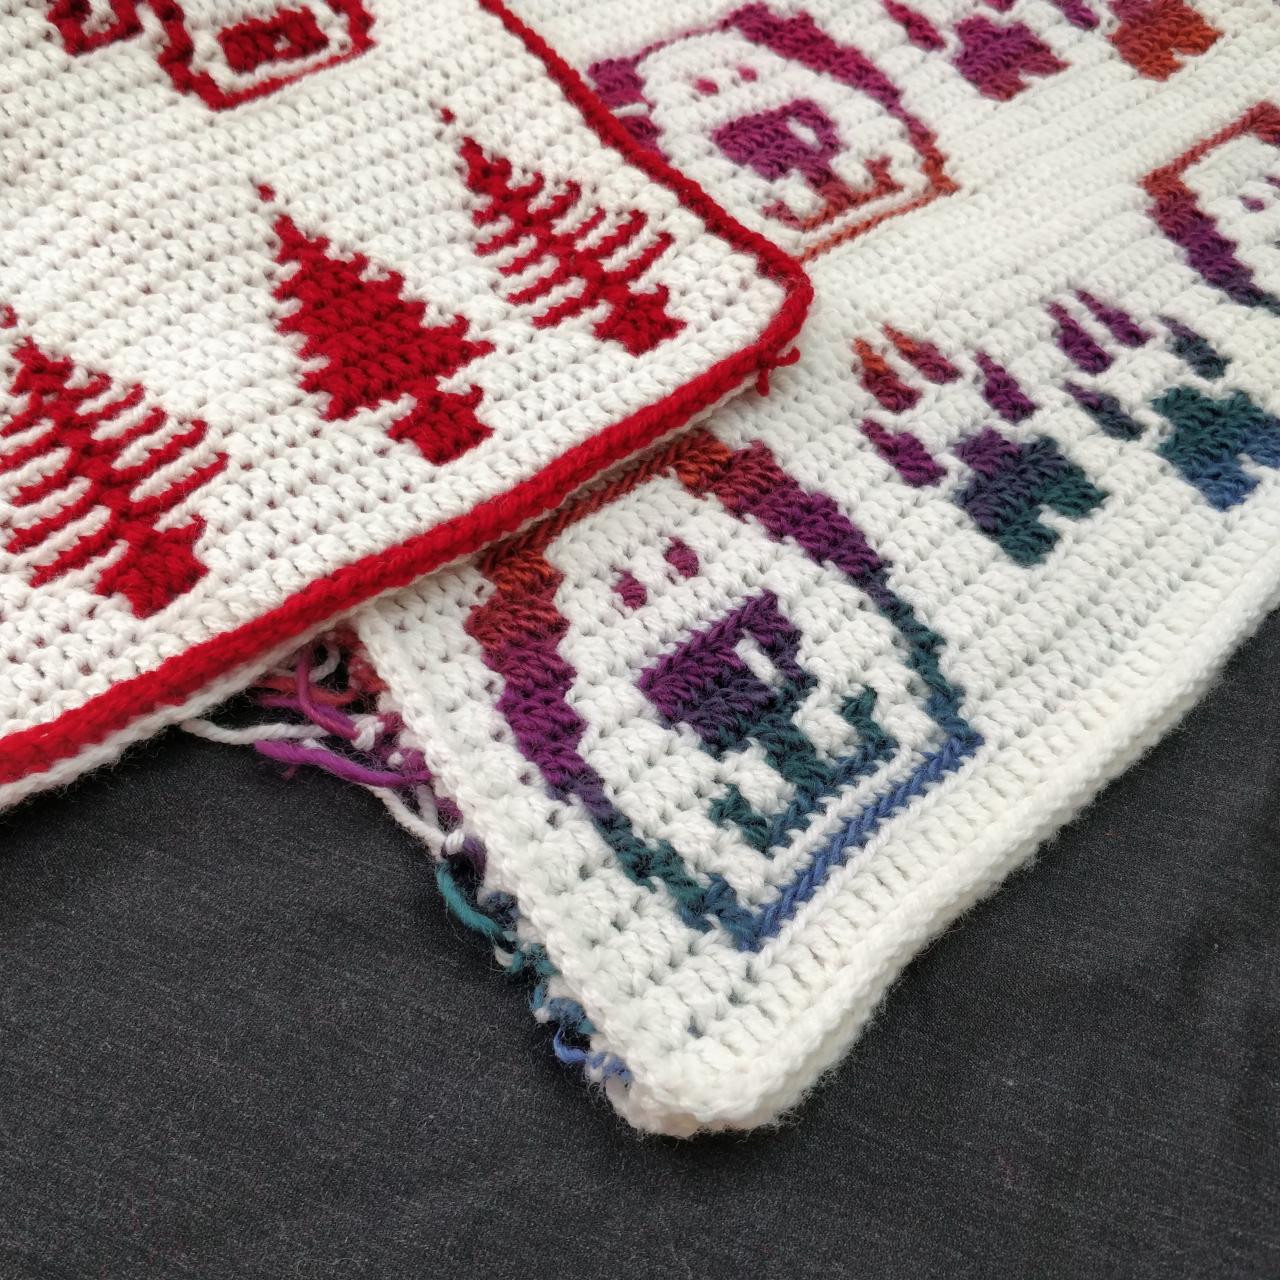
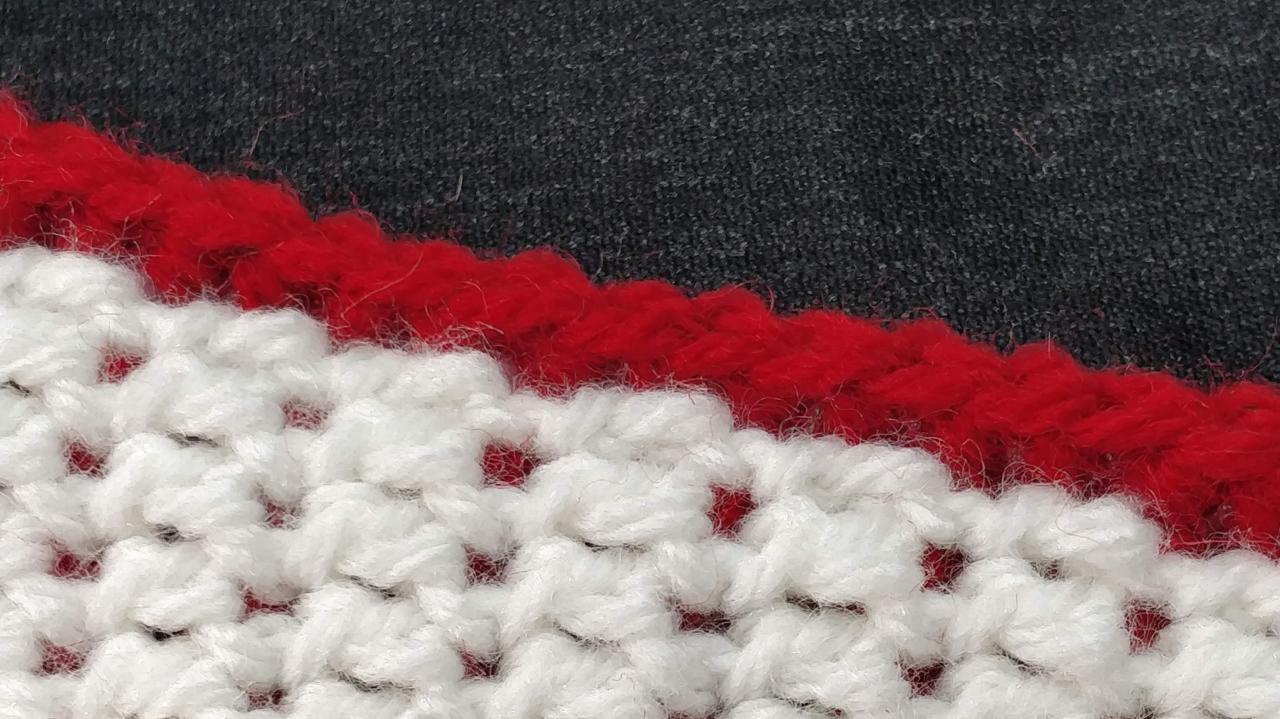
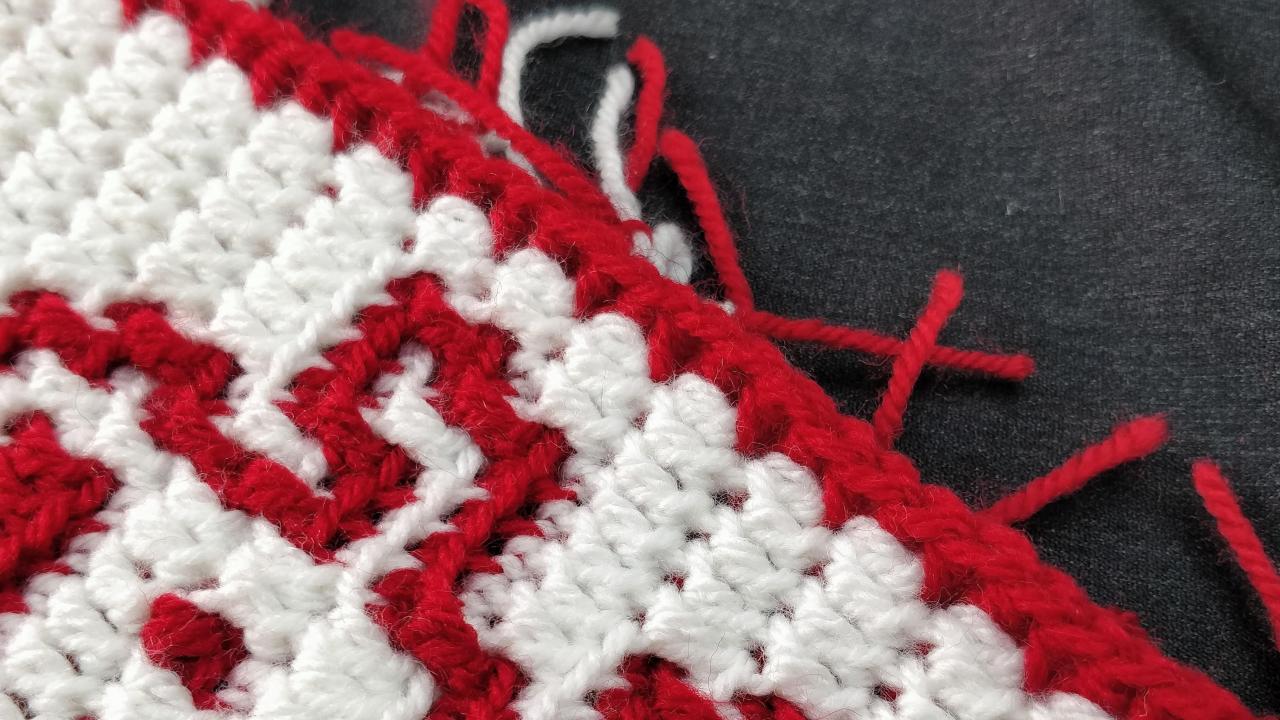
You will notice that the stripey border stitches are very obvious. We clearly want to cover those - somehow.
The answer is to work a border around the perimeter of each panel using a Front Post Half Double Crochet (FPhdc). You can use a sc or even a dc, but I find the hdc gives height but is dense enough to stop the tails peeping through.
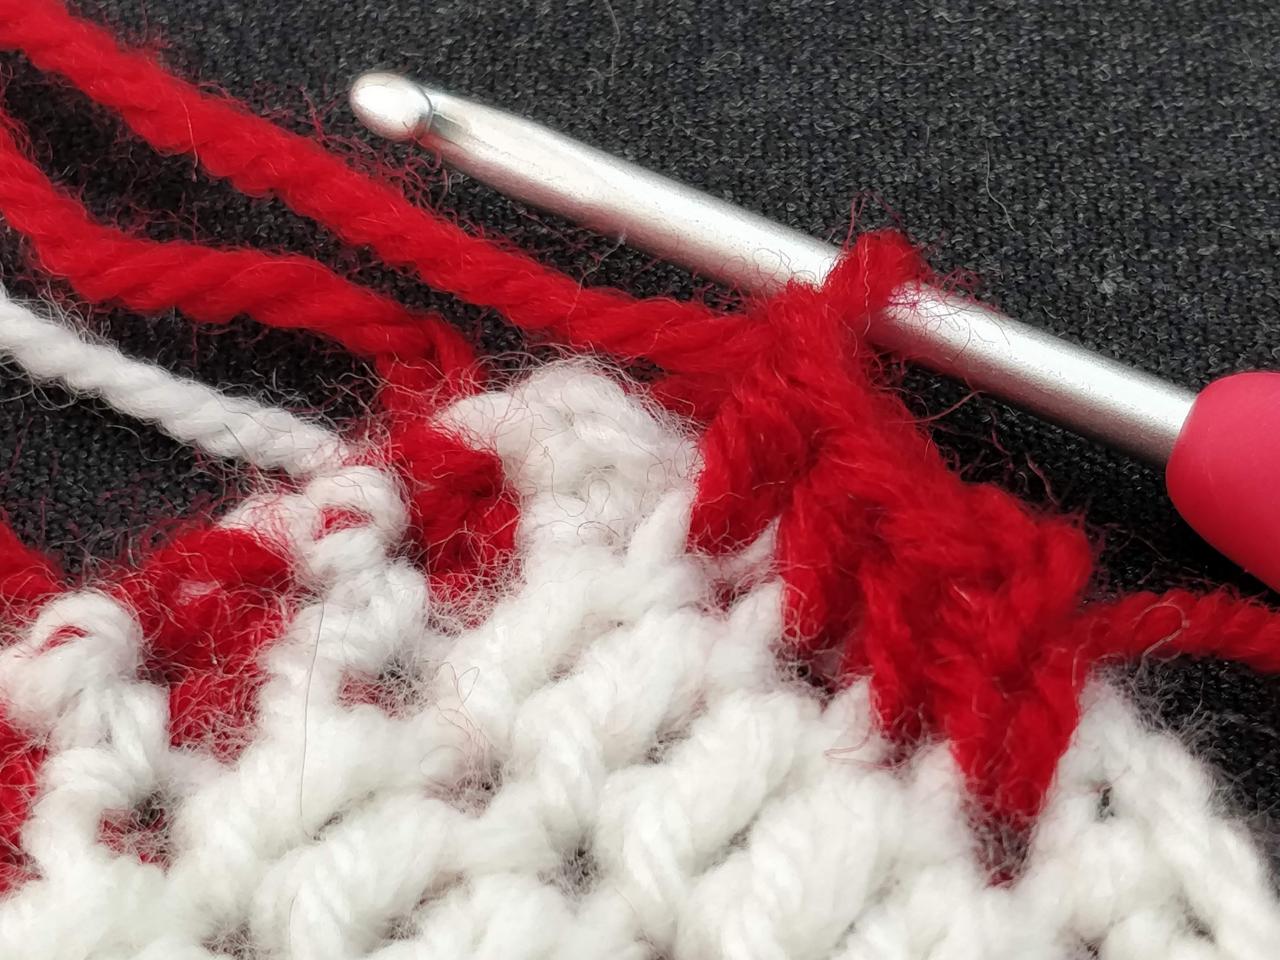
And on tails … don’t worry about them at the moment. They will be taken care of later.
Border colour choices
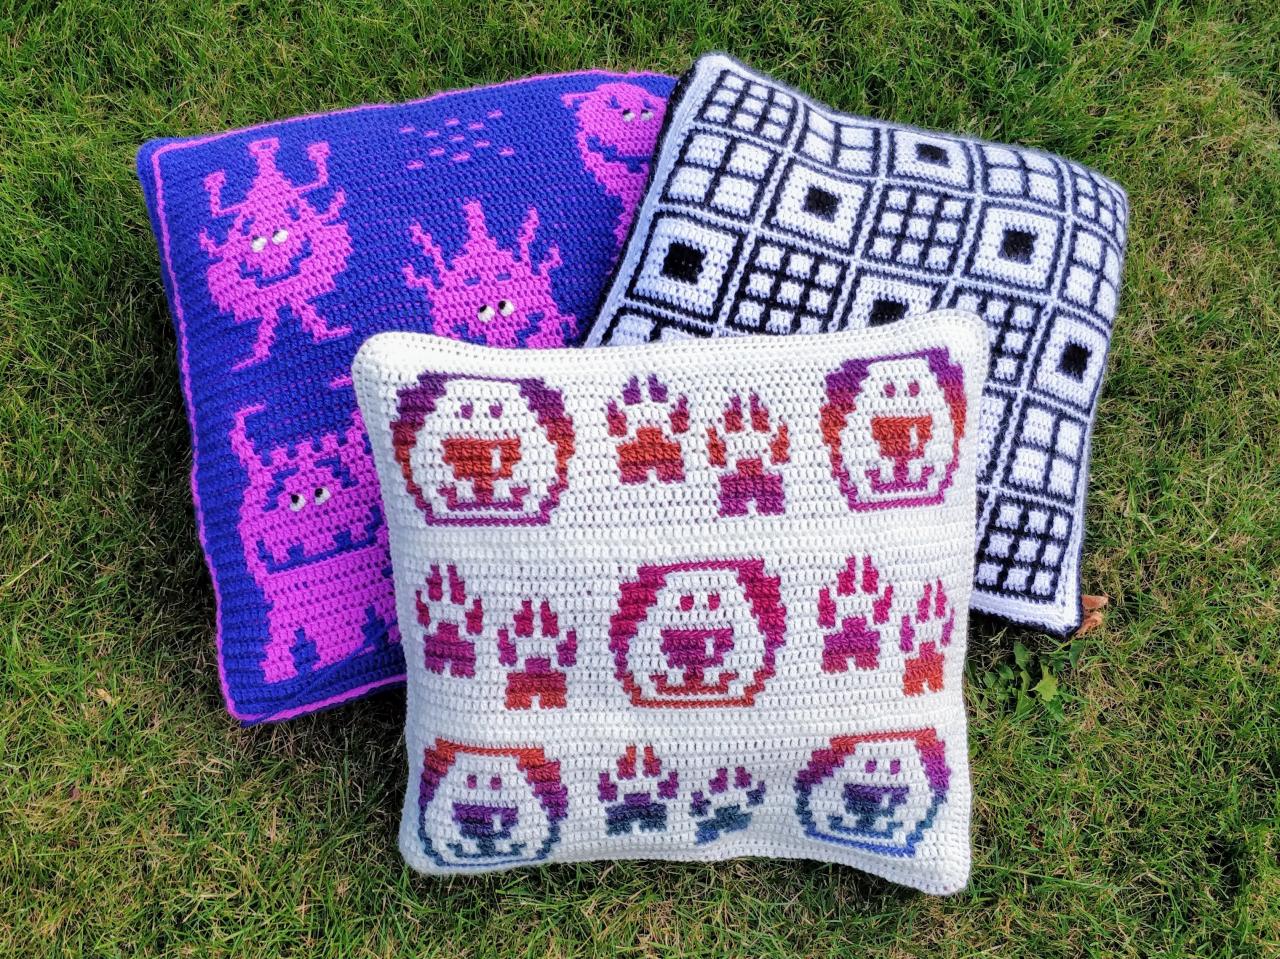
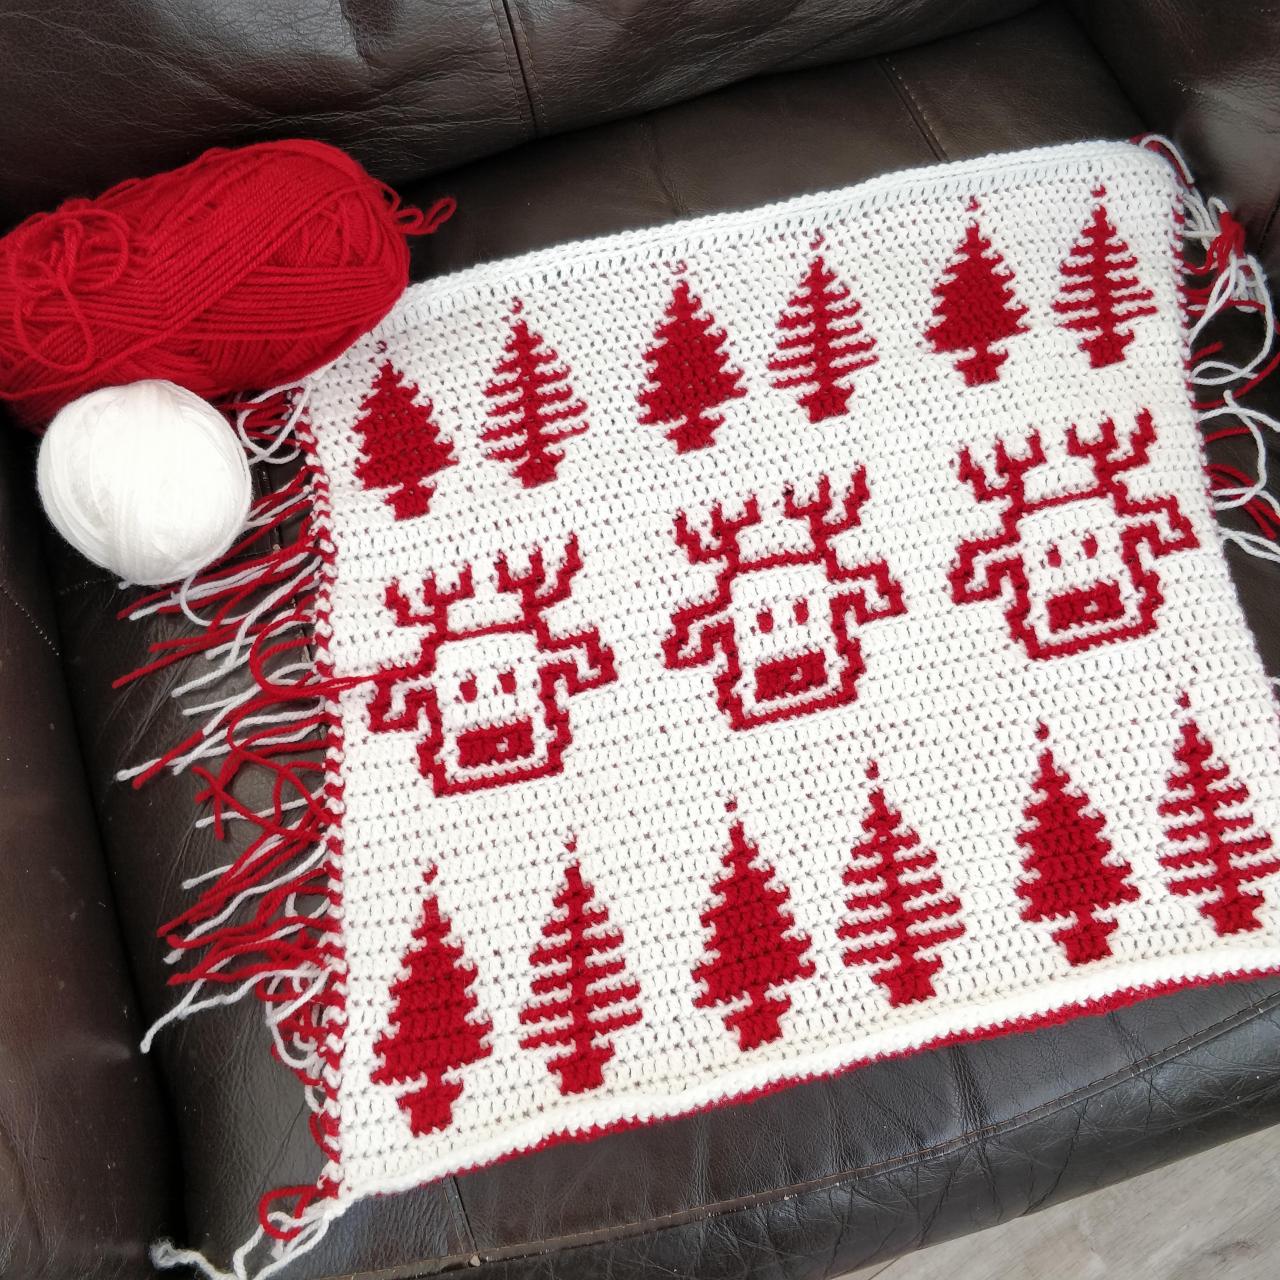
The border colour can affect the look of the final cushion. In the Christmas cushion, I chose a red border. This frames the design. But on the dog and paw cushion, I wanted the design to take centre stage, so I made the border in the background colour.
Border depth
The instructions below explain how to make the initial one-round border. However, you can increase this border if you want. Maybe you need a larger panel to cover your cushion pad.
A note here is to use a cushion pad around 1" smaller than your cover. This gives a "plump" effect.
To make the border deeper, continue making rounds of FPhdc into both loops of each stitch, working (2FPhdc, ch2, 2FPhdc) into each corner space.
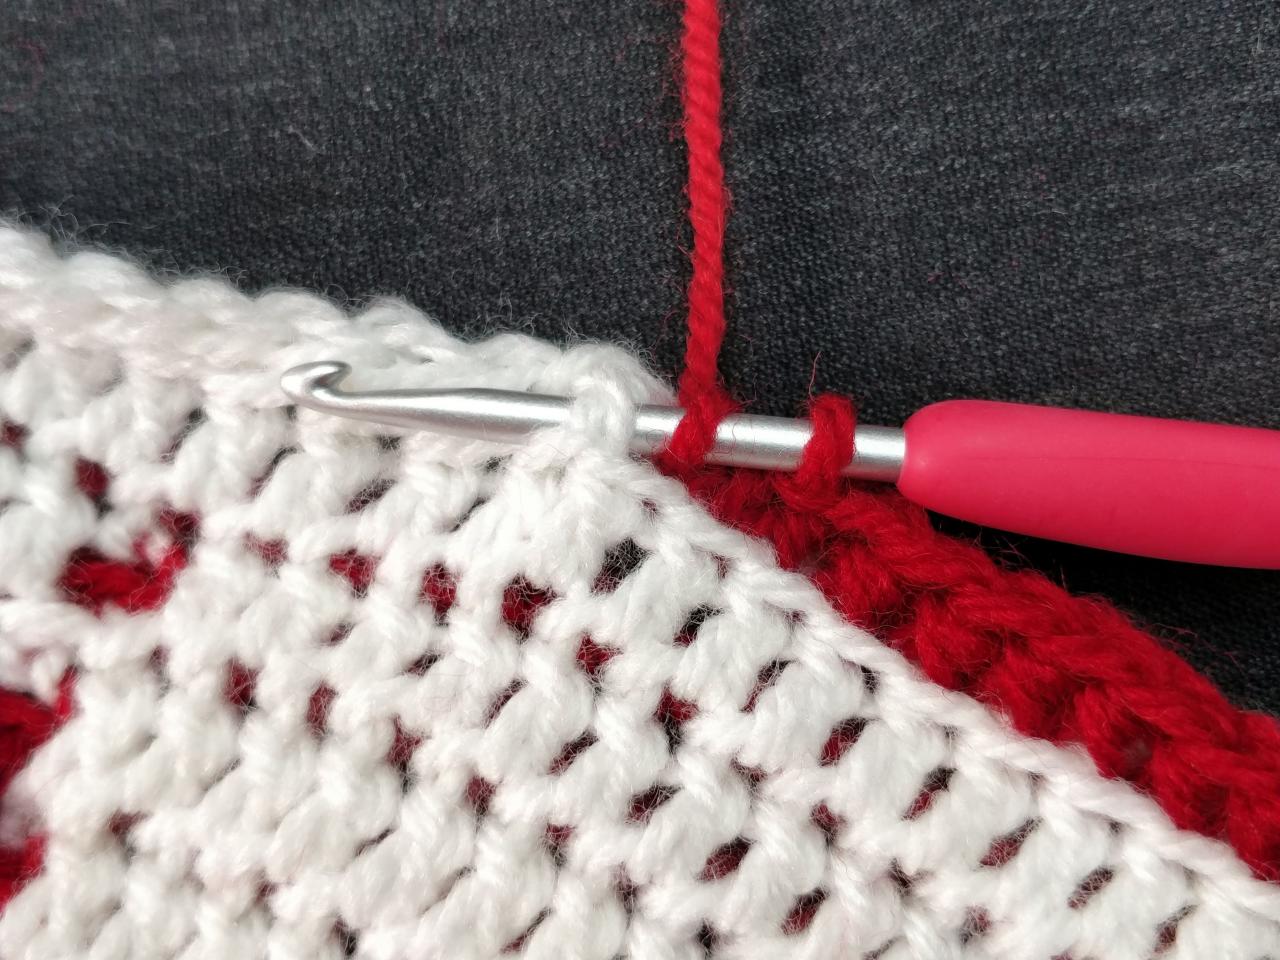
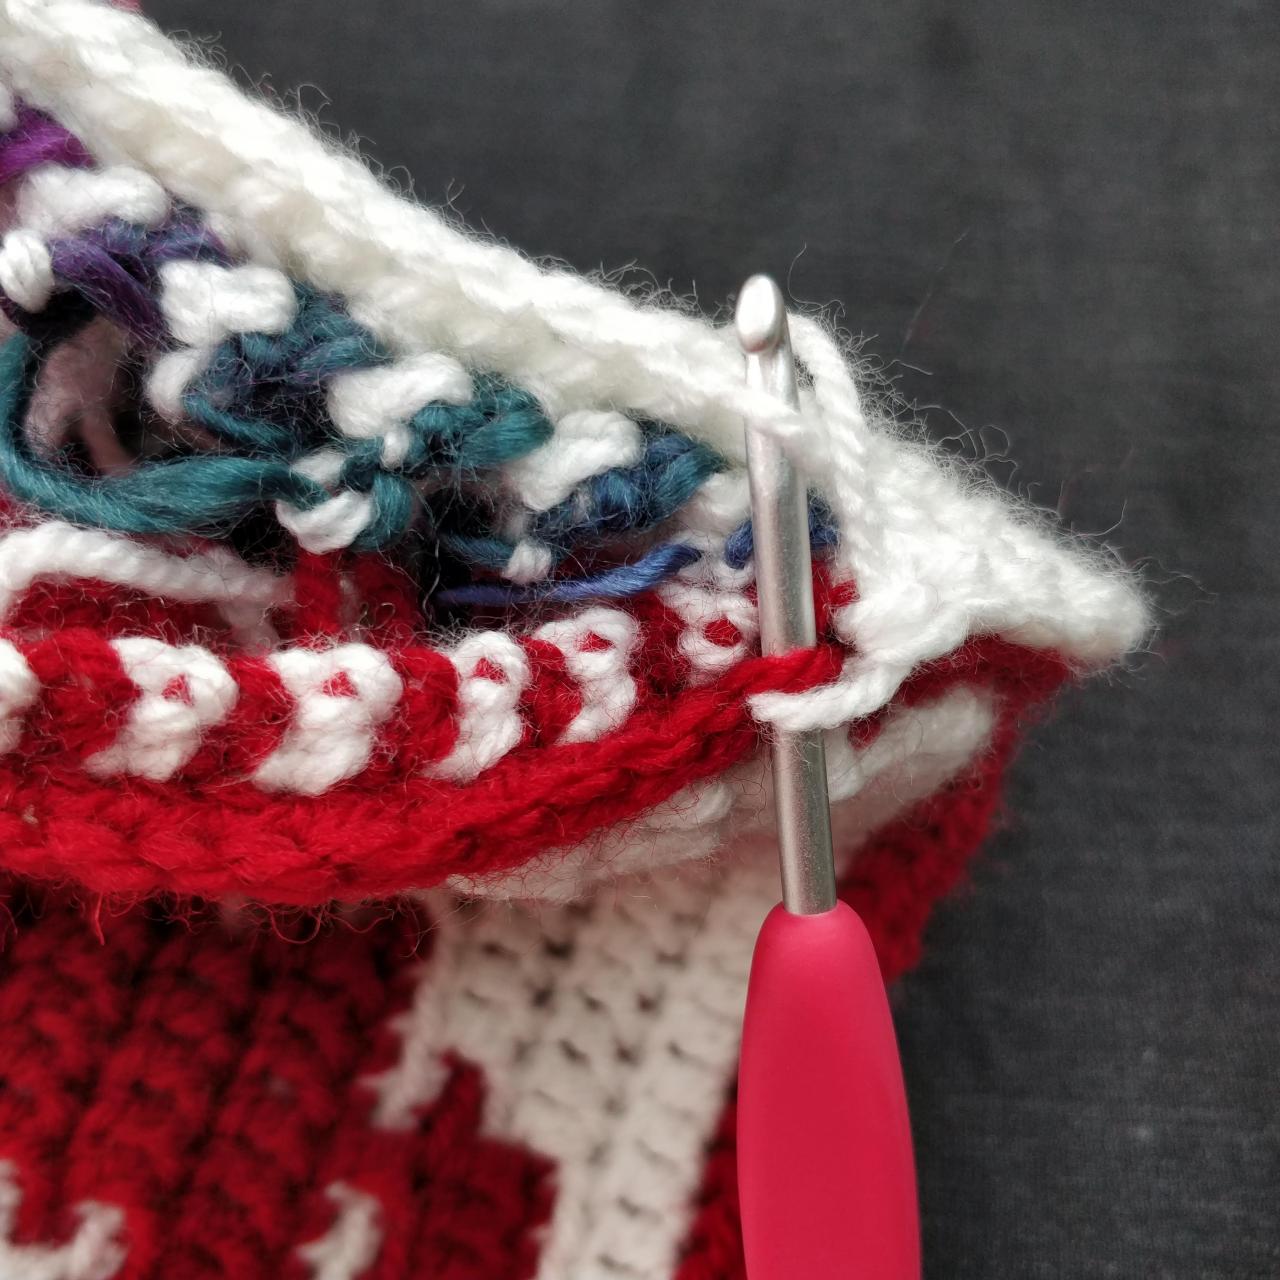
Start around an inch away from the bottom right-hand corner. If you are left-handed, this will be the bottom left-hand corner. Pull a loop of your chosen coloured yarn through and ch2. This counts as the first stitch. Now FPhdc along until you reach the first border stitch. You will be effectively working around the posts of the foundation row. When you reach the corner ch1 to turn.
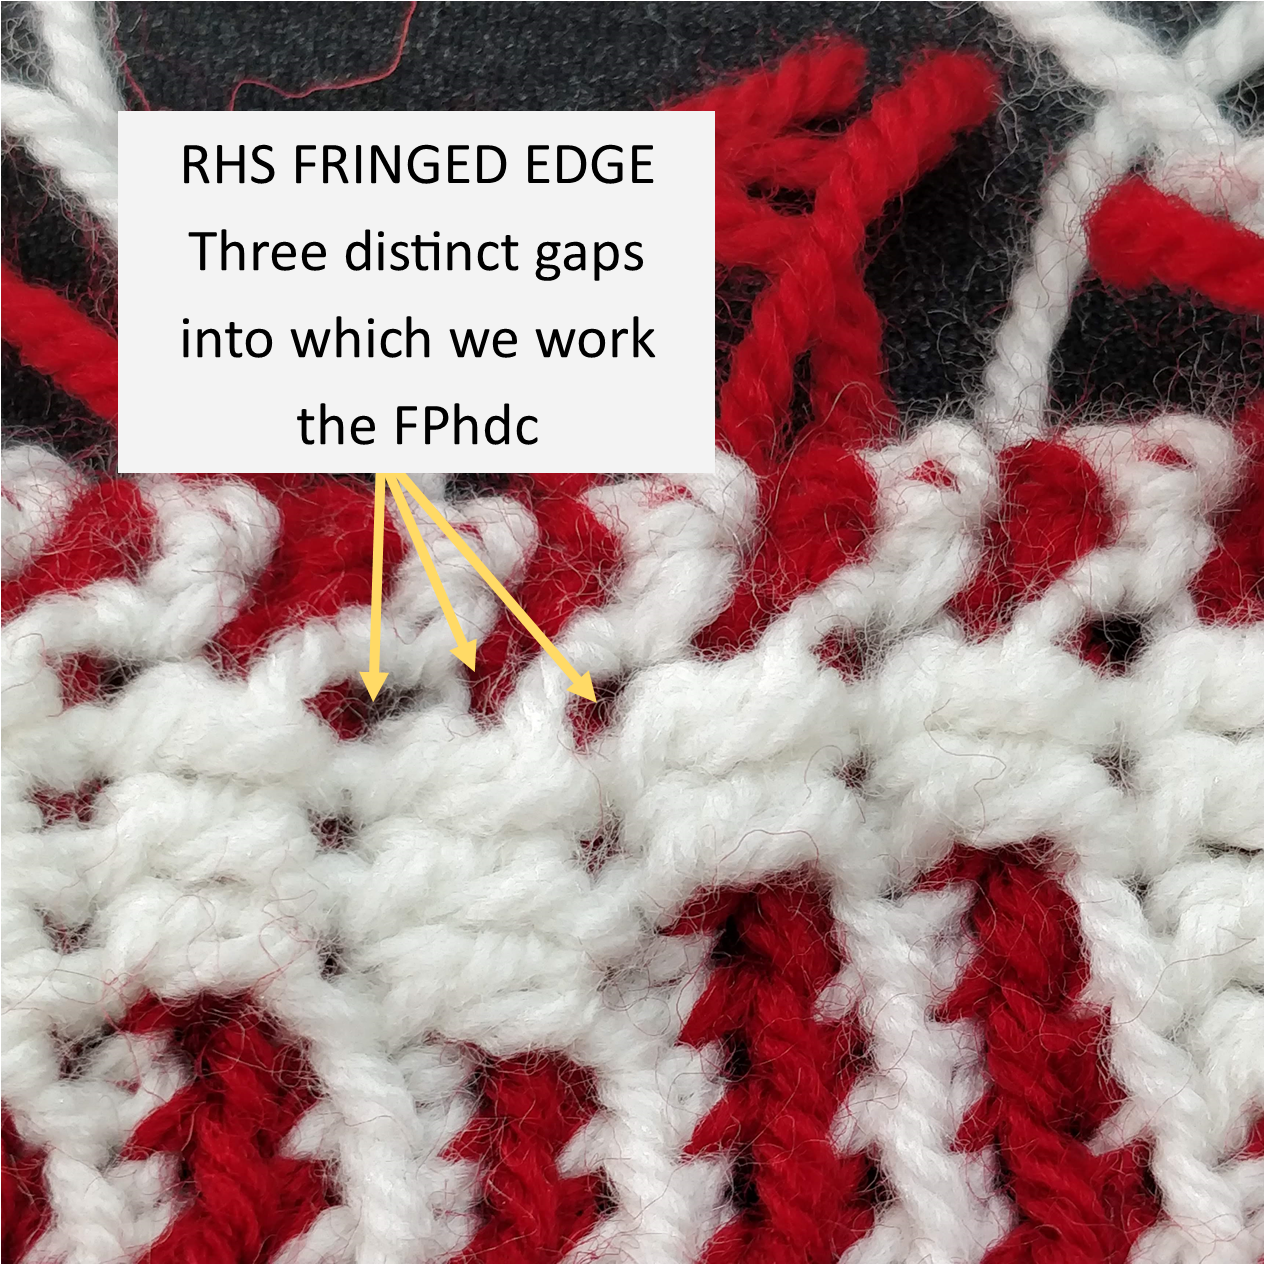
Take a look at the right-hand side of the panel. You can clearly see the border stitches. We want to work our front posts as close as we can to the first “proper” stitch and work 1 stitch per row. It's difficult to see, but whereever you decide to make the stitches, do the same along the edge and on both panels. When you each the top of the panel, ch1 to turn.
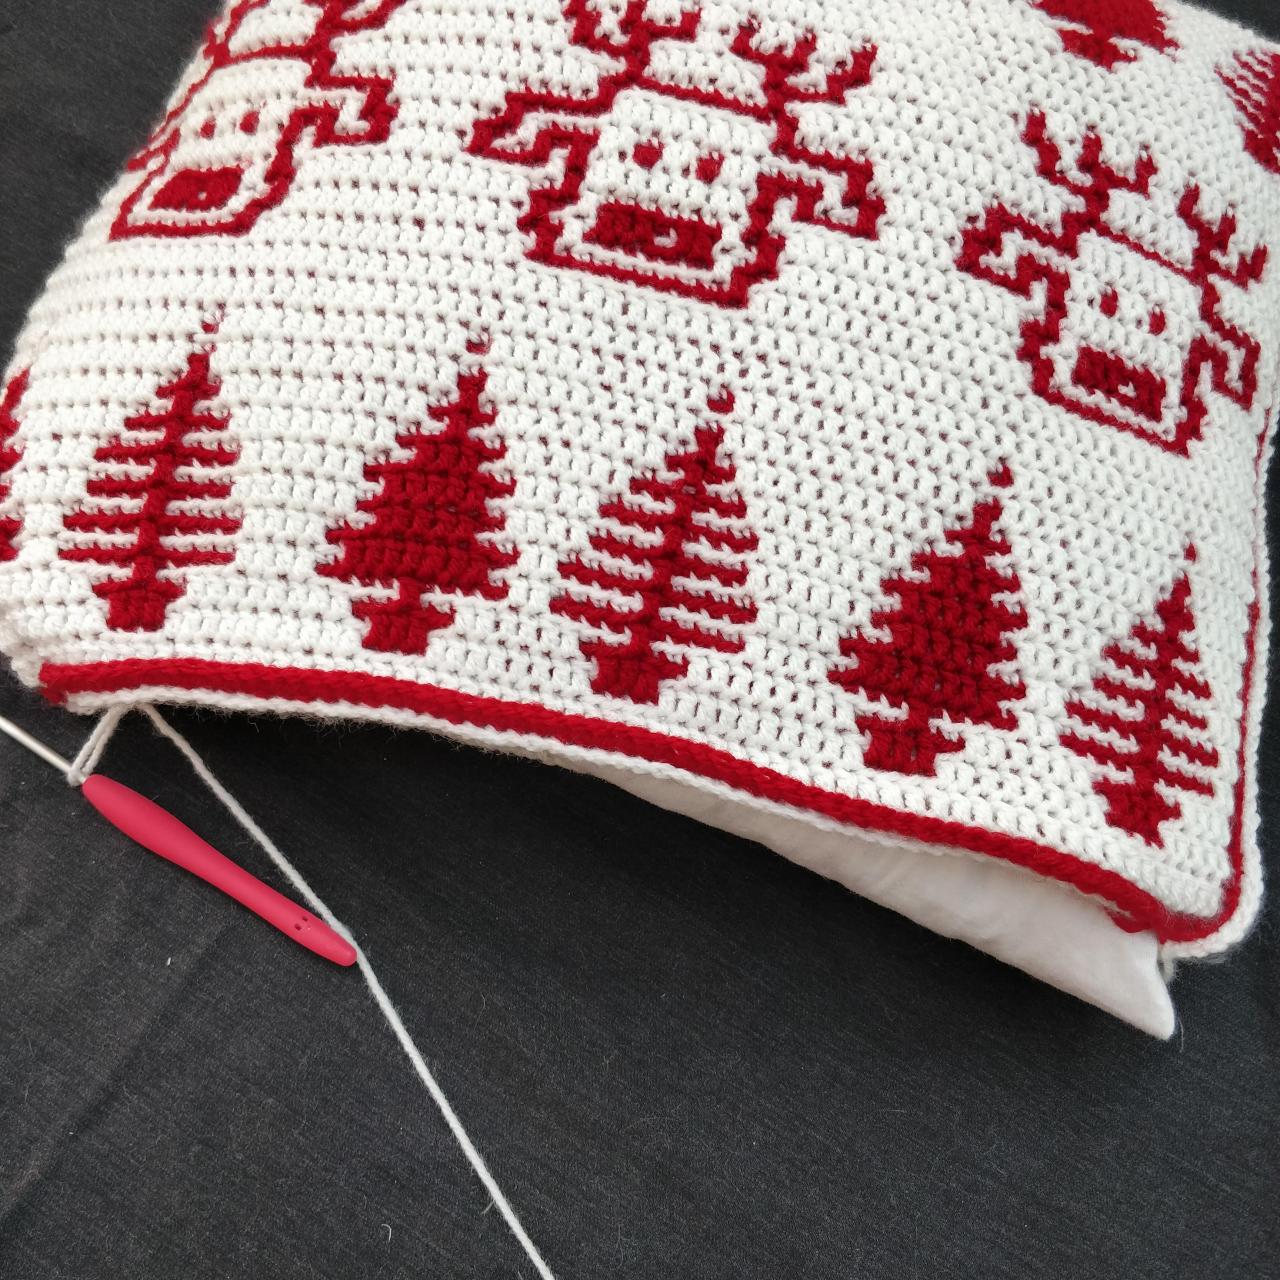
You are aiming to get a neat and straight finish with no border stitches showing.
Continue with FPhdc along the top edge. This time you will be working around the last (or L) row referred to in the MOTIF patterns. When you reach the border stitch, ch1 to turn.
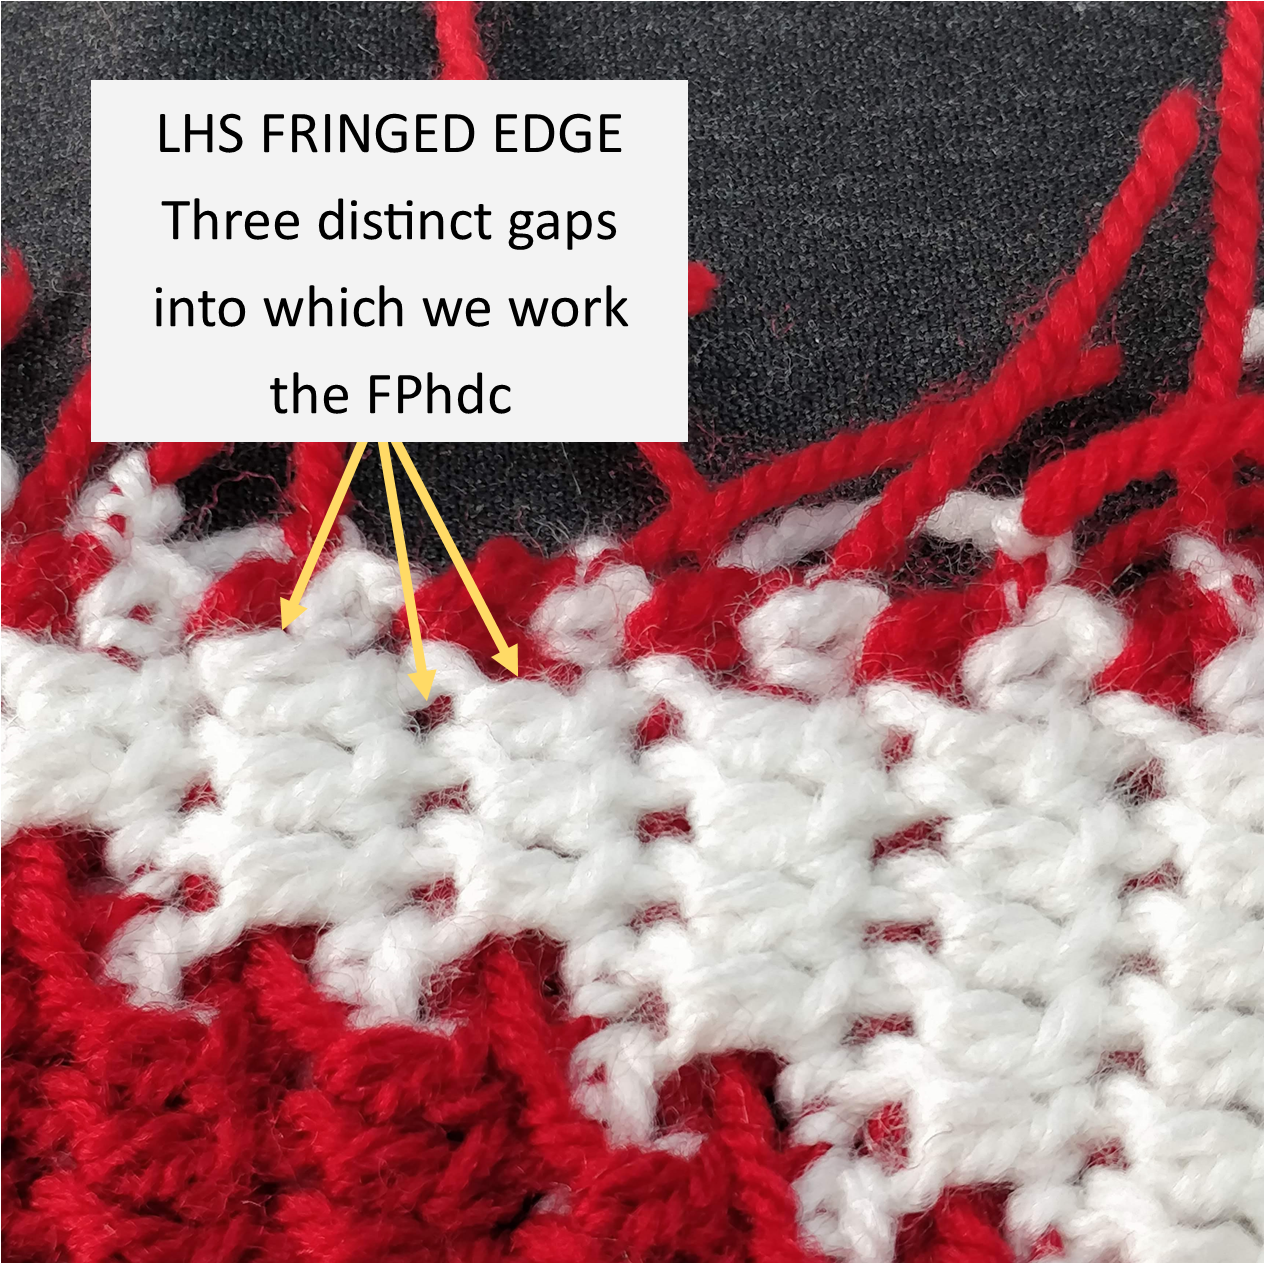
The second fringed edge looks slightly different to the first one. However, you will still be making one FPhdc around each row. Let's have a look at the edge. You can see the holes you should work into. Again, decide where you feel comfortable making the stitches and do the same along the the bottom.
Your edge should be neat and straight with no border stitches showing.
You've made the borders on each panel and are ready to join them. To do this, put wrong sides together and pull a loop of yarn through the inner loops of each border edge, around 1" away from the bottom right-hand corner. Ch1, then sc into same place. Sc around, using inner loops of both border edges, so the sides join. When you reach a fringed edge, stroke the tails inside. Continue until you reach the bottom edge once more.
If you find you don't have the same number of stitches on each side, simply take in two loops instead of one when forming the sc. It won't show!
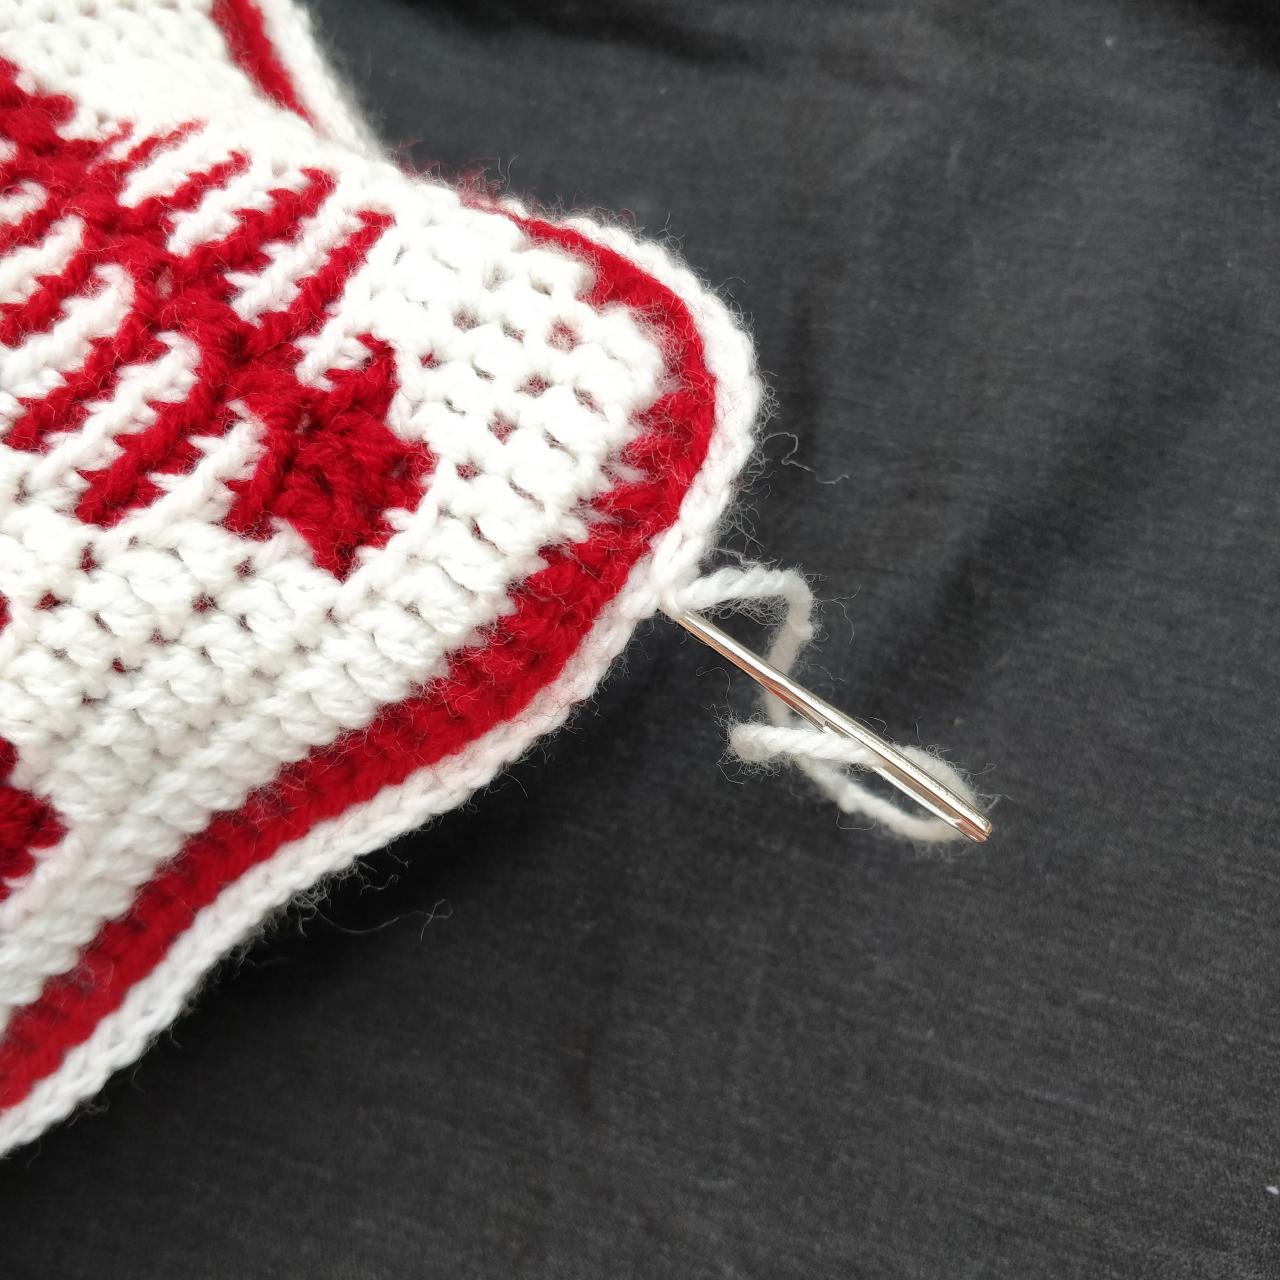
Push the cushion pad inside the pouch you've formed. Now close up the final side by sc into inner loops of both border edges as before. Slip stitch into first stitch to close. Secure yarn and cut a long end. Thread this inside the cover to hide it.
This is a no-sew way of finishing cushion pads. There are various other closures you can make, but this is my preferred option.
If you do need to wash the cover, you know the long tail is around the bottom right-hand corner. Carefully tease it out and unpick the edge. It is very important you use something to stop the working loop pulling through. It is suggested you use a plastic stitch maker. You will also have a long tail. Wrap this into a small ball and tuck it inside. Ideally, use a pillow case and tuck the cushion cover inside, to protect it. Once washed, dry it and push the cushion pad back in and sc into inner loops of both border edges as before and secure, tucking tail back inside the cover.
Patterns
I hope you find this tutorial useful.
